Loobman? Whazzat? Sounds perverted. No, it's really an inexpensive chain oiler for chain driven motorcycles. For us loons that ride multi-hundred (or thousand) mile days (weeks, months), stopping every couple hundred miles to lube the chain on the bike is a real pain. Thus, folks started making automatic chain oilers. Unfortunately, those automatic oilers cost a lot of money - $150 and up. However, a creative guy in England came up with the Loobman - a manual auto chain oiler. In a nutshell, it's a squeeze bottle with tubing and a creative oil delivery system to put oil on both sides of the sprocket.
Well. That's all I found. Phtt. Anyone have anything else?
|
First impressions: Man, that's a pile of plastic. Oddly written directions, too.
Second impression: Man. This is some fiddly crap.
To start, I assembled it on the bench. The only part that isn't out of some bodgers medicine chest is the actual oil splitter and delivery system. The oil delivery head is a bit of molded plastic that takes the oil from the tube and splits it to the two zip-tie brushes. Once I figured out how all the parts fit, the directions made a bit more sense. Still look like they were drawn by a 4th grader. (grin)
|
|
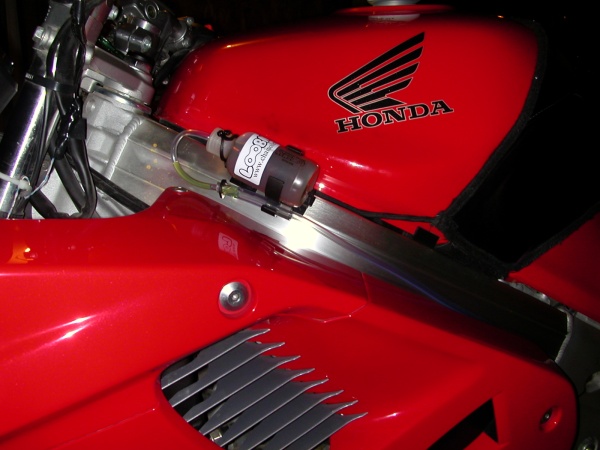
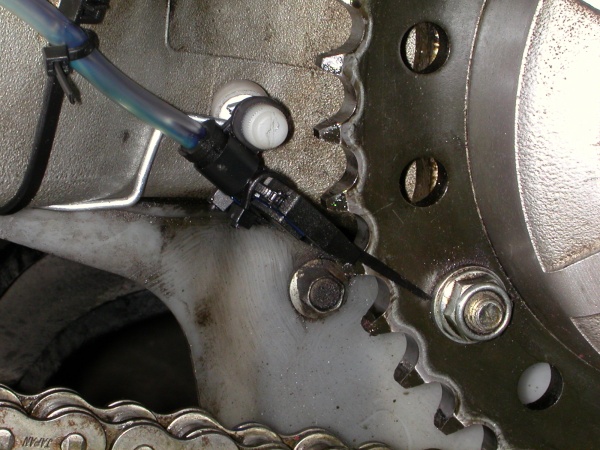
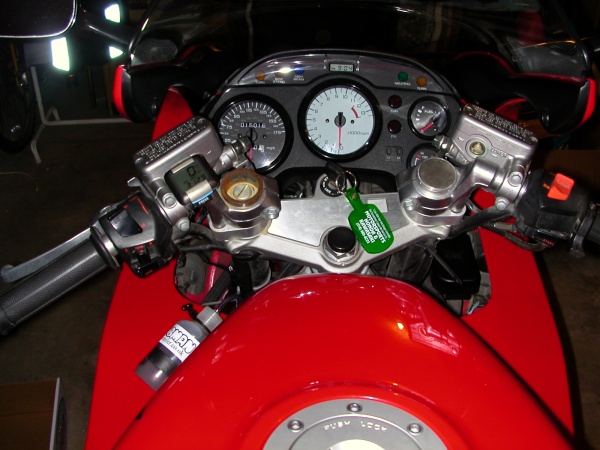
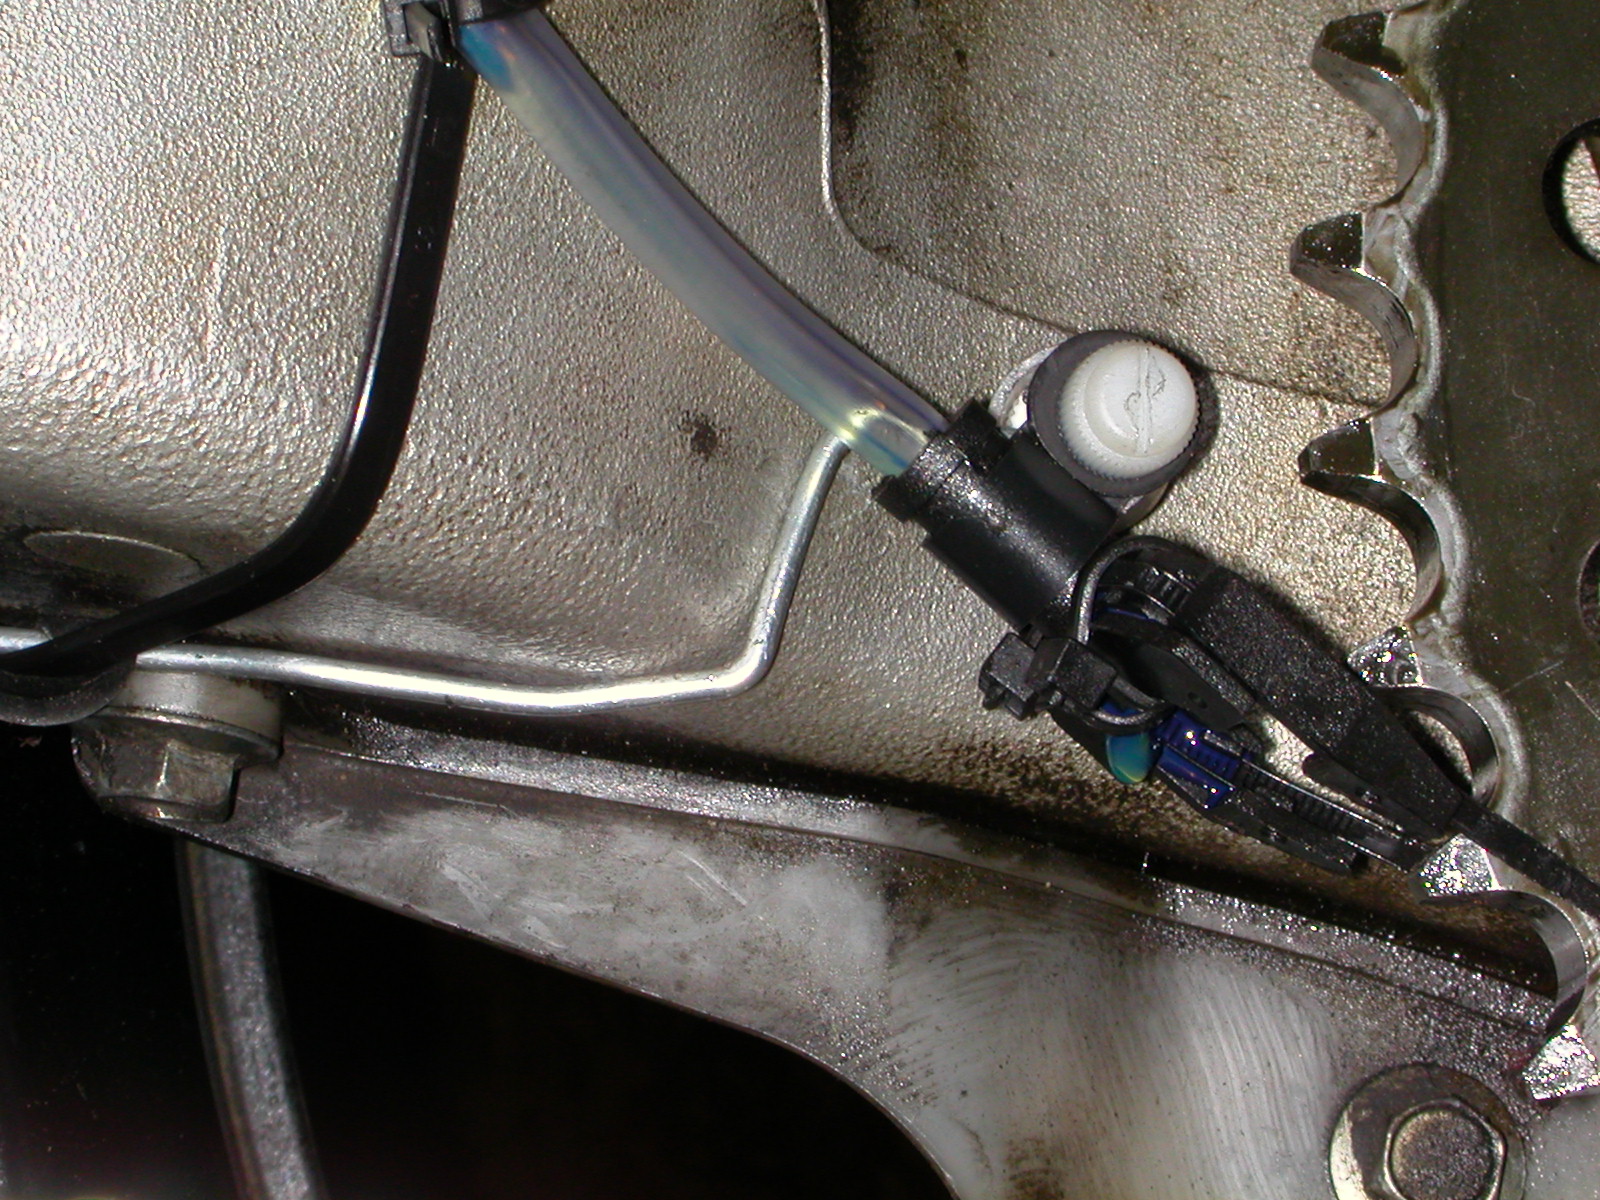
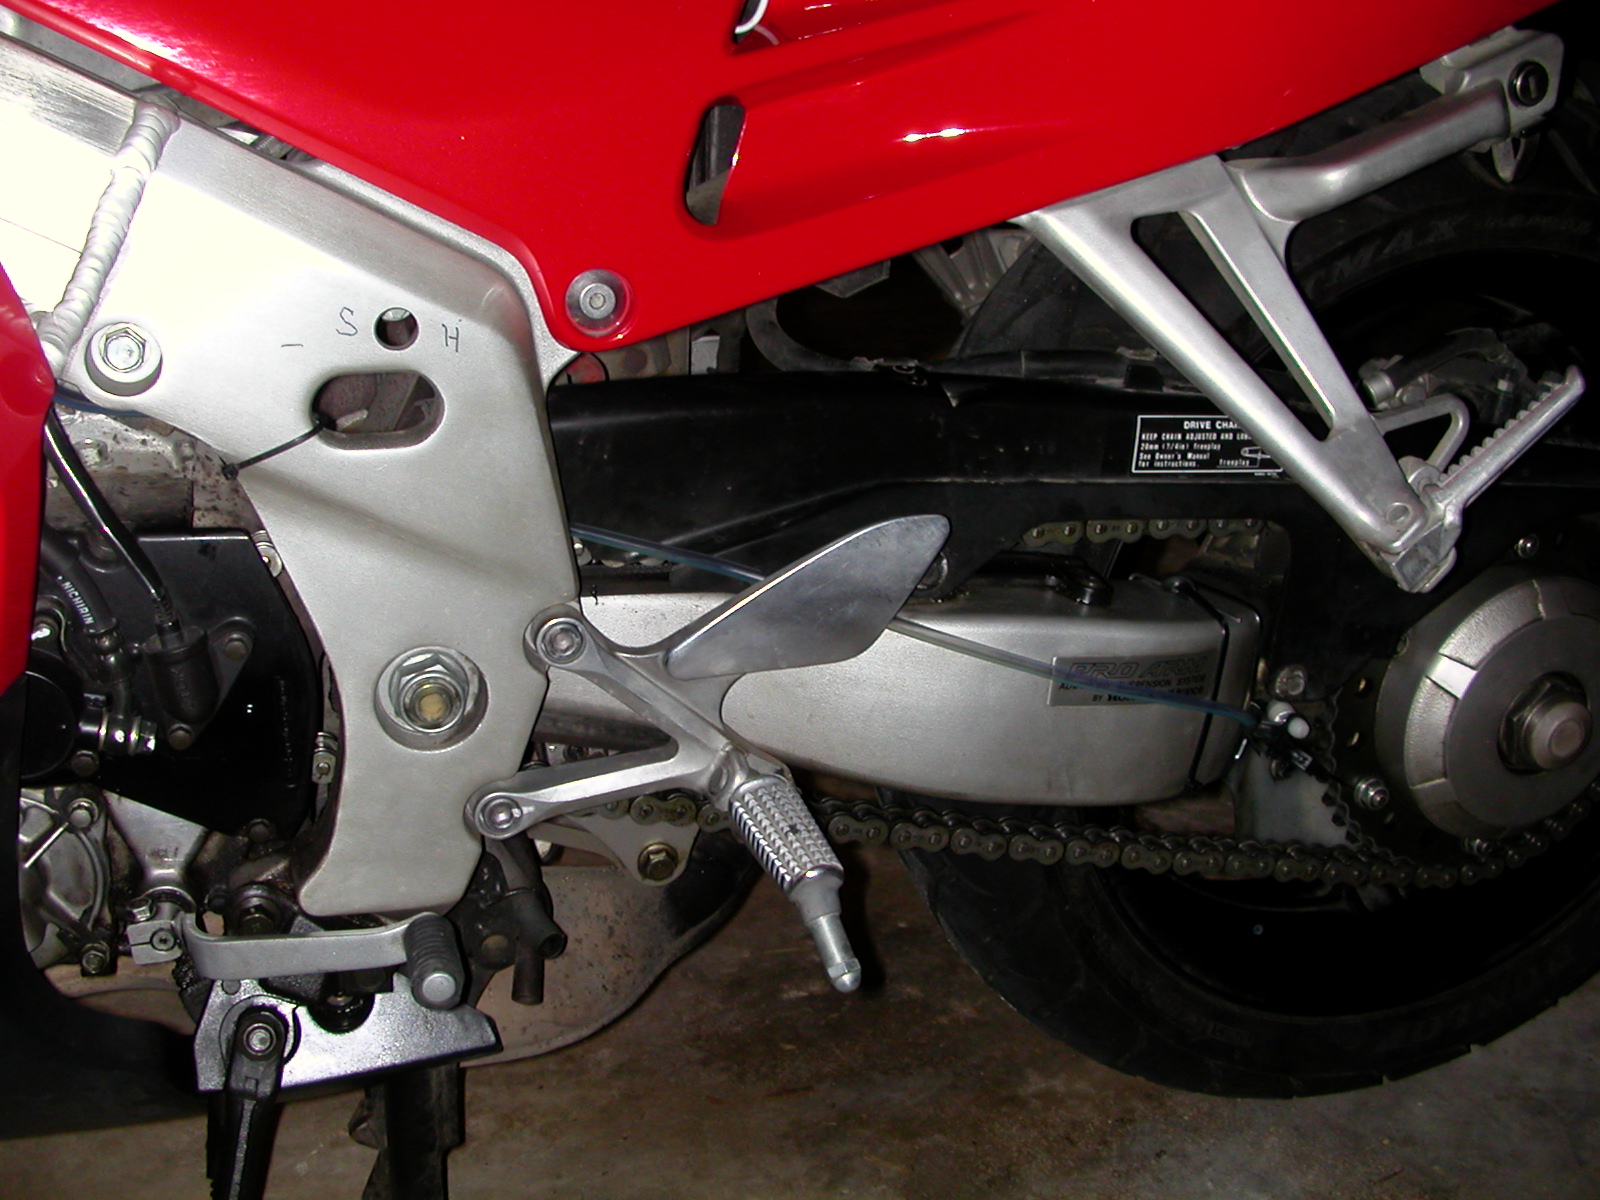
Now, where to fit the bottle? It'll fit behind the passenger footpeg bracket, but that would require getting off of the bike to make it work. I know I want to be able to hit it while running. The kit comes with two stick-on wire tie loops that work quite well for sticking the bottle bracket to the frame under the gas tank. That was easy enough. Next: installing the feed tube.
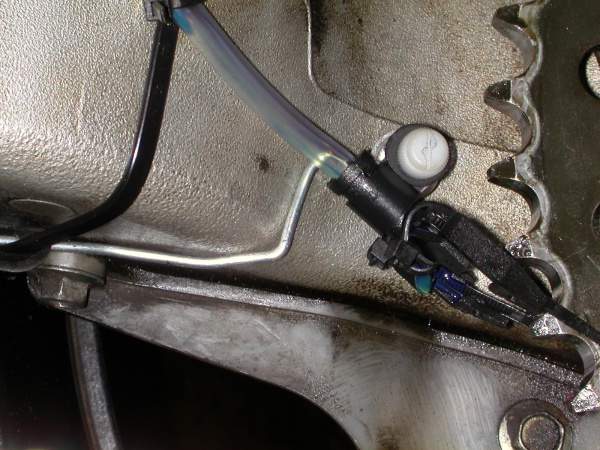
Say, shouldn't that brush head have the feed tube attached to it? Shoot. Remove the brush head, fit the feed tube. Route the tube up to the tank and the squeeze bottle. Run the tube along the chain guard. Cut to length and install into the bottle. Easy enough.
|
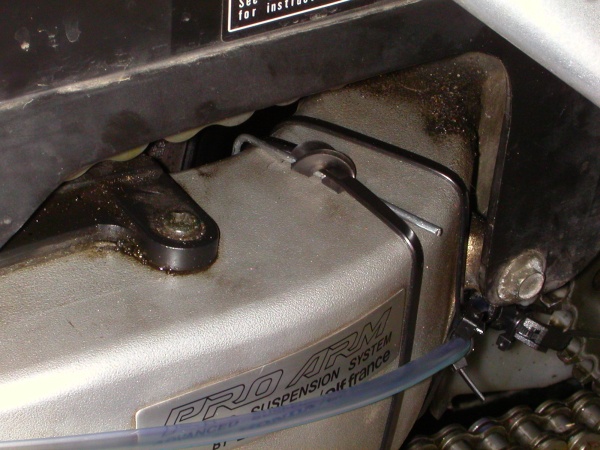
I'm getting good at removing the brush head and remounting it. Really grungy back there. Pull the brush head off, clip off four inches of pipe, reinstall.
Now the 80 weight oil is running down! Say, I'm not moving. This is just going to drip. Sigh. Another oil stain in the garage. Looks like it works as advertised.
Total install time, including a Pizza break: 2:30. Difficulty: Easy, but dirty.
Heading out for a bit of riding this memorial day weekend. Forcast is for rain, followed by rain. If you didn't like that, there will be more rain the next day.

|
|
|
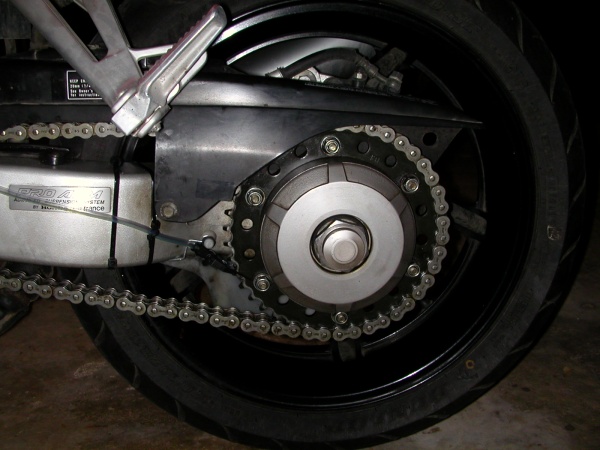
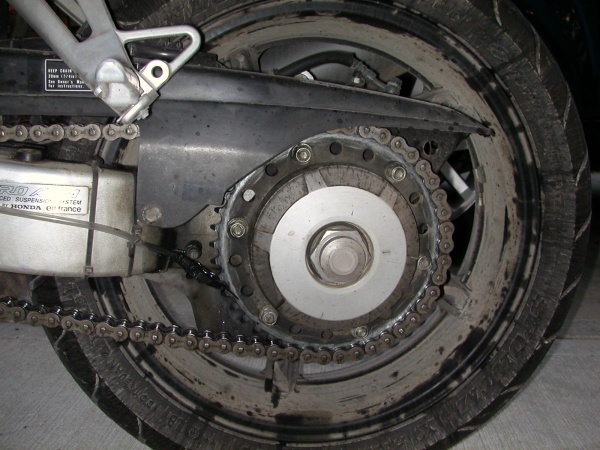
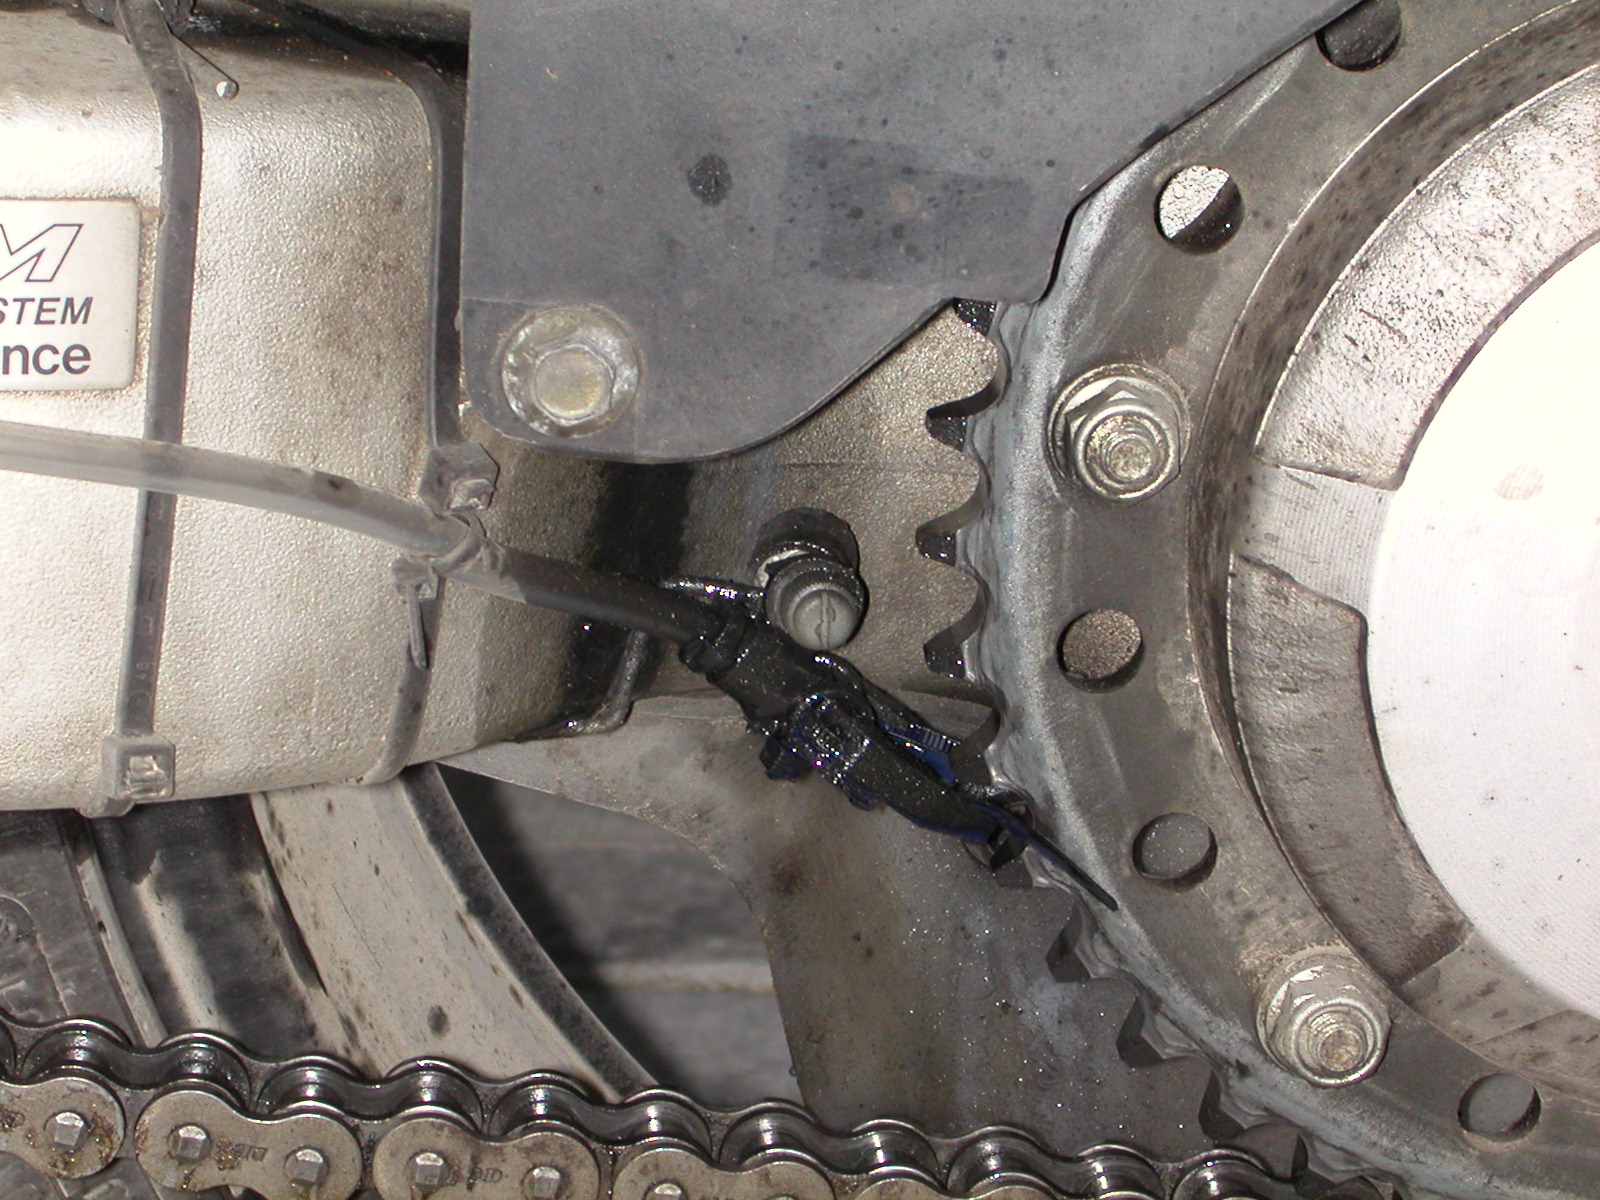
I donno, I haven't used it yet. But, David Vaughan did, and sent these photos of his motorcycles swingarm and rear drive after a 2,000 mile trip with the loobman.
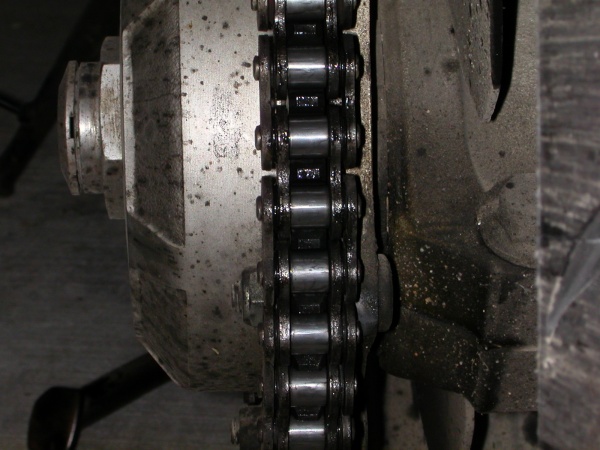
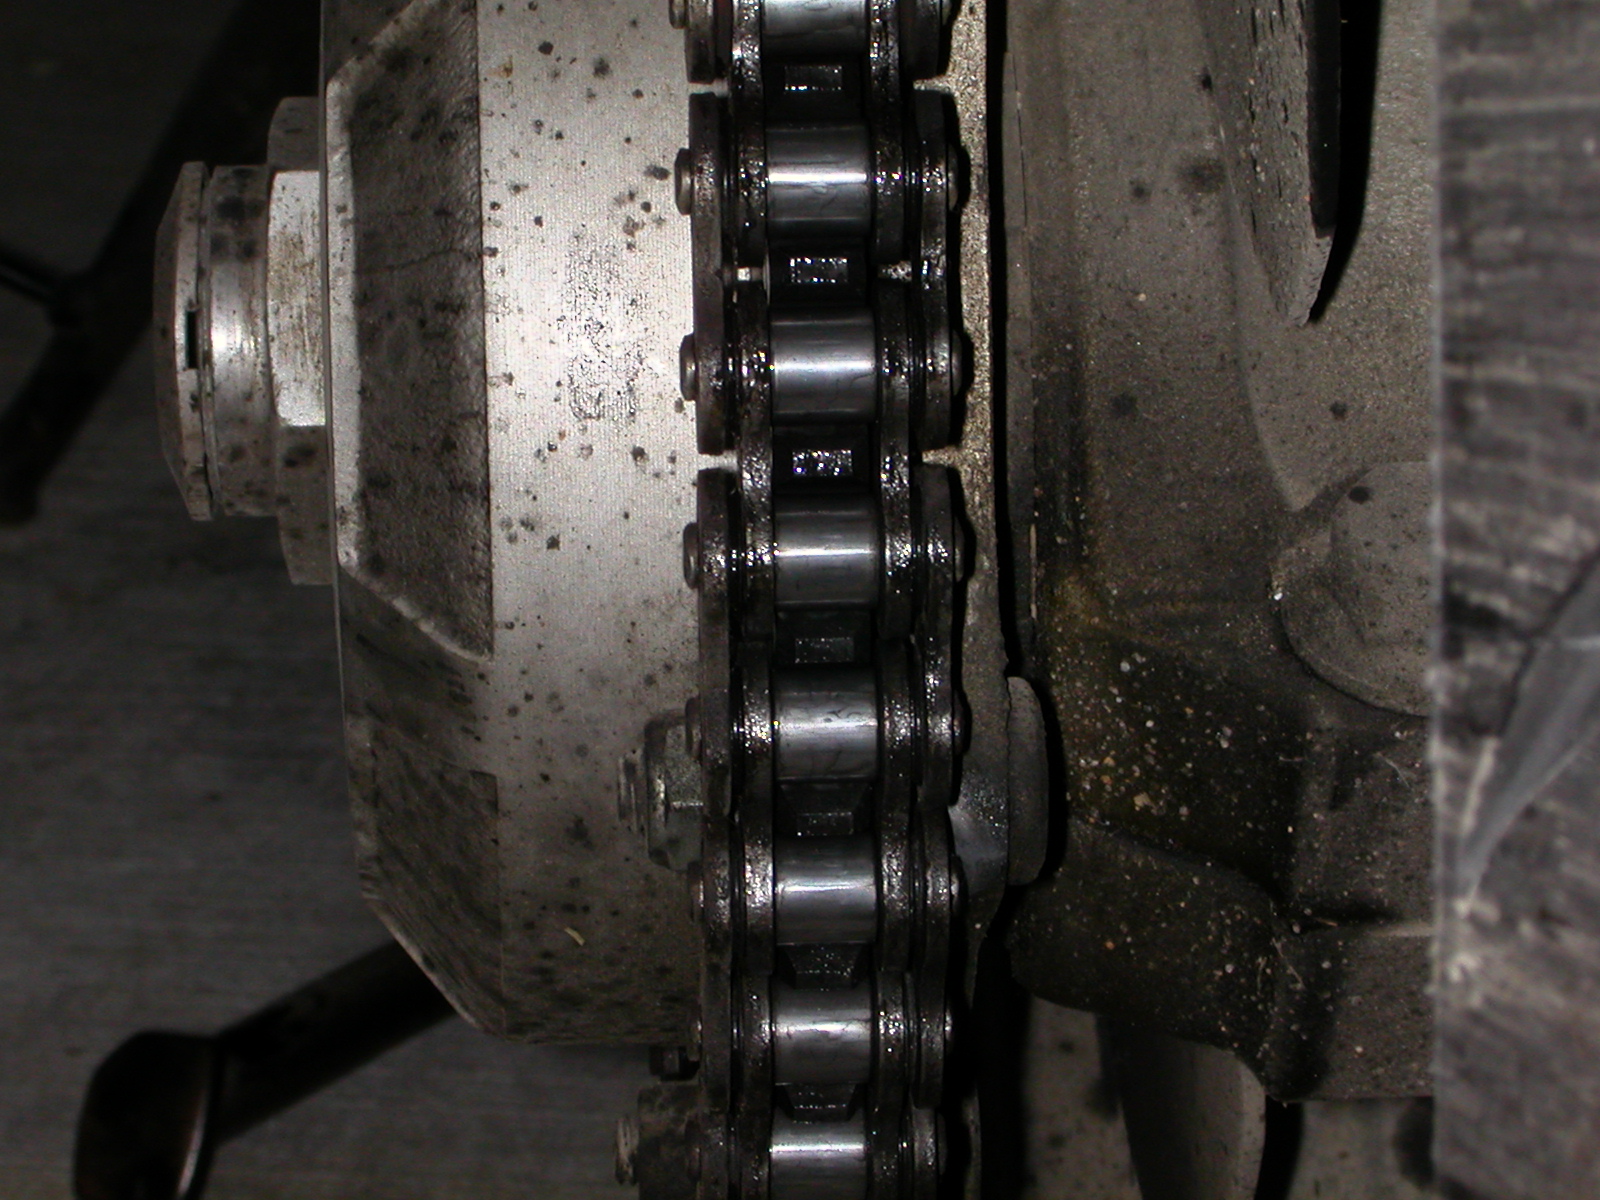
Now I know. The weekend after I installed it (Memorial Day, 2003), I took a bit of a ride. Went from KC to Cassoday, from Cassoday to Eureka Springs, AR, back to Cassoday and back to KC. About 1,000 miles all told. 600 of the miles to AR and back were in a frog-strangler of a rain - a chains worst enemy. About every 75 or 100 miles I'd give it a squeeze and it kept the chain lubricated and happy thru all the rain and mud and gunk. The bike got a bit dirty, but not as bad as chain wax fling.
A few photos of the bike upon returning to KC:

|
|
|
[
Now
-- Main
-- Humor
-- Art
-- Food
]
[
seti@home
-- Shooting
-- Motorcycle
-- Blog
]
Disclaimer: Anything I have to say is mine, dammnit! My employers, clients nor anyone else can take credit (or be blamed) for it.
Author: Will England (will@mylanders.com) Complaints? /dev/null
This page is a Y to K complaint.
Mostly compliant with ![]()

Created May 23, 2003 :: Updated Thursday, September 06 2018 @ 01:44am